Full-Screen LED Display Calibration Explained: From Image Capture to Coefficient Deployment
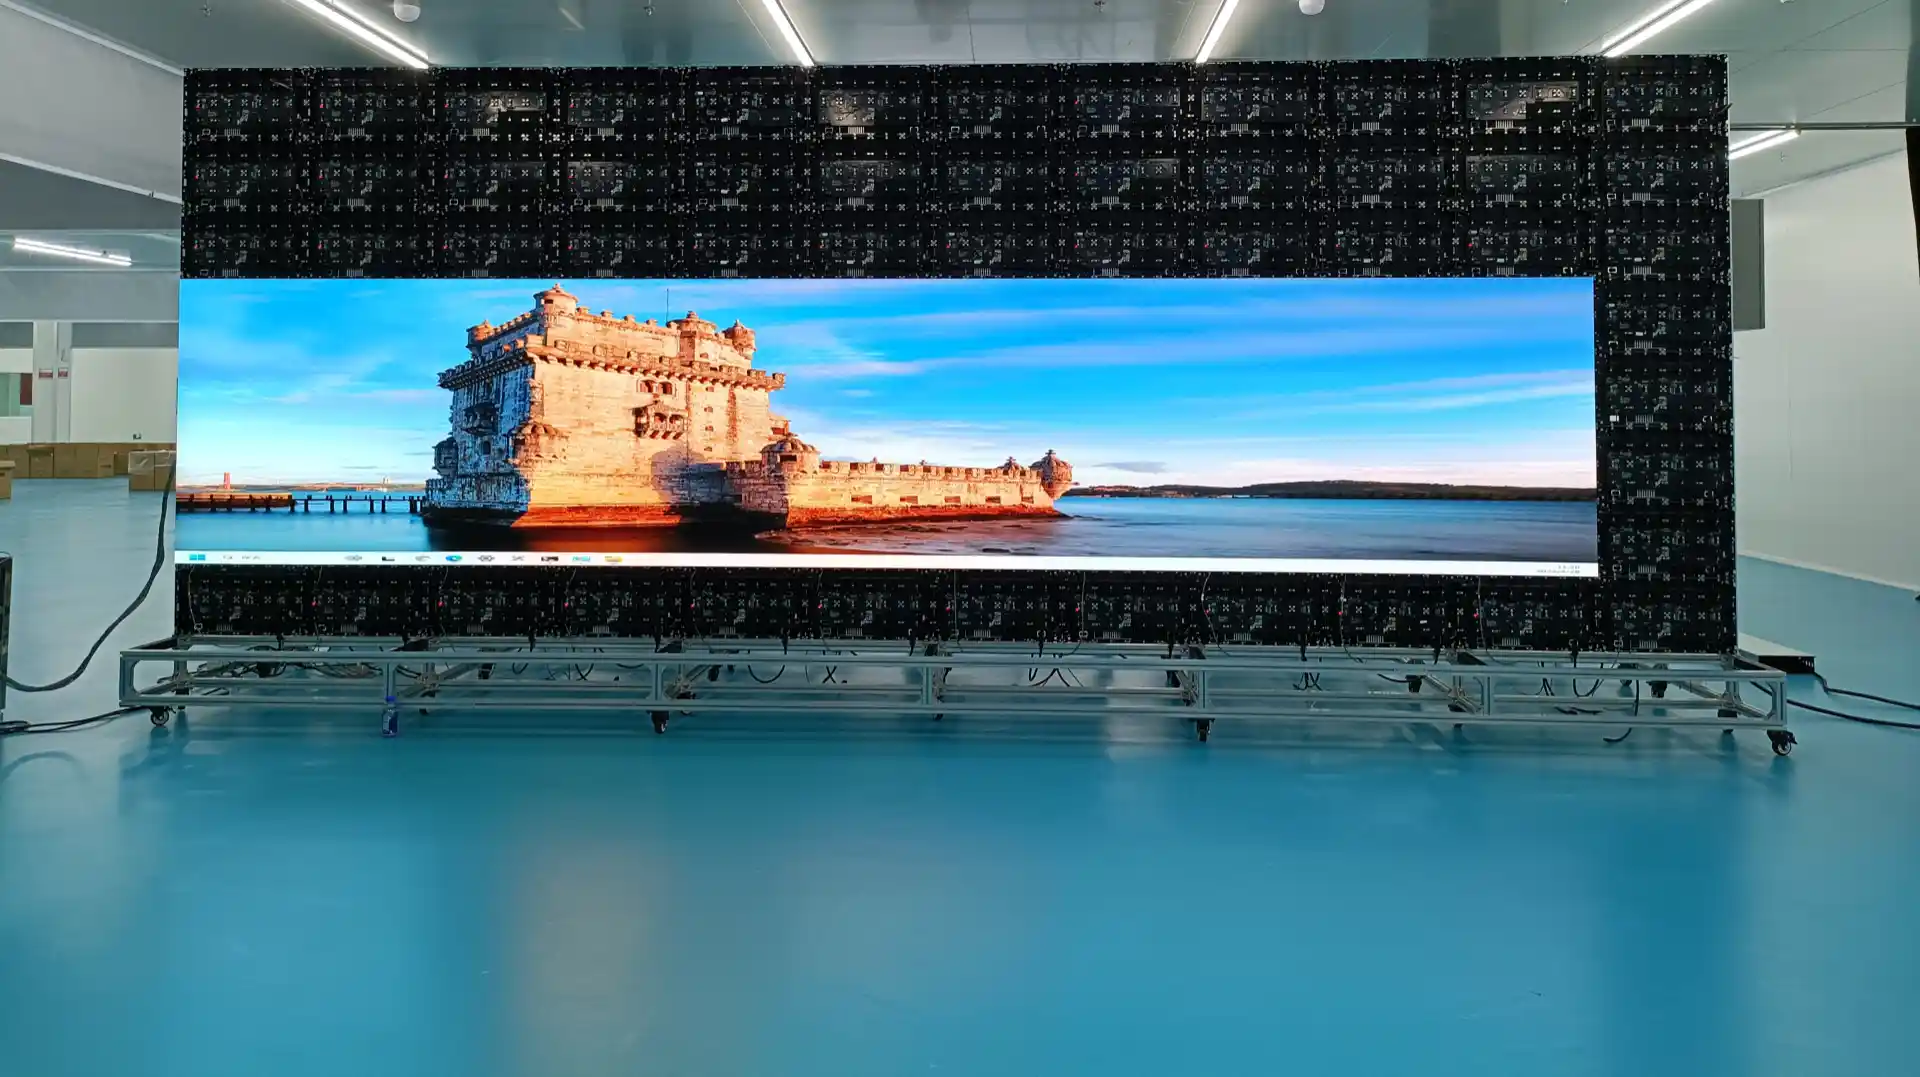
It's 1 a.m. on the eve of handover. The wall goes to dark-field for final QC, and the image breaks into patches — brighter here, redder there, mosaic creeping through the shadows. Yet every cabinet in the stack has a factory calibration report that passed. Nothing is broken. What failed is the gap between cabinet-grade uniformity and wall-grade uniformity — and closing that gap is exactly what full-screen calibration is for.
01Cabinets Passed. The Wall Didn't.
Start with the core insight: factory calibration and site calibration don't target the same unit.
Cabinet-level calibration is done on the production line. It guarantees that each cabinet is internally consistent, in its factory state, within tolerance. But between the factory and first light, the wall goes through changes the factory never sees:
- Multi-batch mixing. Schedule-driven projects pull cabinets across production batches — or suppliers — and bake those systematic offsets straight into the wall;
- Shipping and assembly. Vibration, mechanical stress and cabinet-gap variations all nudge the optical result;
- A new environment. A different power distribution and a different thermal map. As Part 1 put it: many "color patches" are really a temperature map in disguise.
Stack those offsets on top of intra-cabinet variation and you get the classic site scene: every cabinet passed, the whole wall failed. Full-screen calibration, in one sentence:
This is Part 2 of the COB LED display calibration series. Part 1 ("COB LED Display Calibration Basics: Luminance, Chromaticity and Gamma") covered what calibration is and why it exists. This part goes operational, following the framework of Chapter 2 of the textbook LED Display Calibration Technology: scope, preconditions, acquisition workflow, data processing and deployment, and field troubleshooting.
02Where Full-Screen Calibration Fits: The Last Mile of a Three-Tier System
To know when full-screen calibration is the right tool, first see where it sits in the system. The industry calibrates at three levels, each with its own job:
When is full-screen calibration the right tool? Four classic scenarios:
- First-light calibration before handover — especially walls assembled from mixed batches or suppliers;
- Whole-wall repair after uneven aging leaves visible patchiness or color drift;
- Consistency recovery after module, cabinet or receiving-card swaps;
- Rental walls brought back to spec after repeated rigging and touring cycles.
And when is it the wrong tool — or impossible? Three boundaries to keep in mind:
- Dead pixels unhandled? Don't calibrate. Fix first. COB can't replace single LEDs, so modules with visible dead pixels get swapped (or masked) before anything else;
- Ambient light out of control? Don't trust the data. Outdoor daylight makes capture worthless — wait for night or tent the wall;
- Very large wall? Plan for zones. Capture happens zone by zone with a stitched solve; schedule and crew scale with zone count.
03Preconditions: Four Gates Before You Shoot
The textbook's implementation conditions boil down, on site, to four gates. Miss any one and the capture that follows may be wasted work:
Zero dead pixels first — COB modules get swapped, not repaired at LED level.
Warm up ≥30 min to thermal stability; confirm flatness and solid connections.
Dark-site work (night or blackout); kill direct light and strong reflections — COB's epoxy overcoat mirrors the room into your camera.
Clear personnel: occlusion and reflective clothing both pollute data.
Industrial camera calibration system (site mainstream) or a spot luminance/colorimeter (accurate but slow).
Receiving-card firmware must support coefficient storage and loading; software and firmware versions matched.
Clean network topology and IP plan — every card addressable.
Backup discipline: raw data + coefficients, double-archived and tagged to the wall's serial number.
One note on equipment: camera-based systems cover a full area per shot and dominate field work; spot meters measure point by point with higher accuracy, which is why they live mostly in labs and acceptance sampling. Behind all four gates, the system chain looks like this:
04The Six-Step Acquisition Workflow
All four gates passed — time to shoot. The textbook workflow lands on site as six steps:
Three of those steps deserve a closer look:
Why warm-up is non-negotiable
LED output drifts with junction temperature. Capturing a cold wall means aligning everything to a baseline that moves the moment the wall heats up. It looks fixed at midnight and patchy again by breakfast — you calibrated the wrong reference.
Why exposure gets locked
Overexposure clips the highlights: the brightest LEDs all hit the same ceiling value, and the software can no longer tell them apart. Those regions can only be re-shot. The rule is simple — set exposure so the single brightest LED on the wall does not saturate.
Why capture low gray and high gray
Part 1's Gamma lesson, applied: low gray is where uniformity dies. A wall calibrated only at high gray looks clean on white and patchy in the dark. Low-gray data is what saves your black scenes.
05Data Processing & Coefficient Deployment
Capture done. Raw data now flows through the processing and deployment pipeline:
Target solving: not the average — the common reachable value
How do you set the whole-wall target? The intuitive answer — average everything — is wrong. An average target leaves some LEDs unable to reach it and others clipping past it: distortion at both ends. The correct approach is the common reachable value: luminance floors at the dimmest LED, chromaticity targets the wall's center. Intuitively, this is the bucket effect:
That chart also answers a commercial question: calibration's brightness cost is really a bill for initial LED consistency. Tighten binning and batch control at procurement and the site calibration is barely felt; leave it loose and you pay for uniformity with a dimmer wall. Chromaticity works the same way — targeting the wall's center via RGB ratio trim, again at some brightness cost.
Where coefficients live — and how they take effect
Once per-pixel luminance and chromaticity coefficients (RGB channel gains) are computed, they travel through the sending device and are written into each receiving card's Flash memory — non-volatile, auto-loaded at power-up. Card present, coefficients present. After deployment, verify: spot-check or re-measure until uniformity meets the project spec. Only then is the loop closed.
The final backup step matters double for COB. COB's repair strategy is module replacement — so what restores consistency after a swap? The archived coefficients. Raw data plus coefficients, double-archived, bound to the wall ID: a repair becomes a restore operation instead of a full recalibration.
06Field Troubleshooting: Seven Classic Failures
Every row of this table has a war story behind it. Learn them here, not on your site:
| Symptom | Usual cause | Fix |
|---|---|---|
| Whole wall dark after calibration | Ambient light leaked in — captured values inflated | Work at night or blackout; re-check ambient levels |
| Patchiness returns after weeks | Captured on a cold screen — thermal drift | Warm up ≥30 min before capture |
| One zone won't improve | Anomalies culled there, never re-shot | Locate the zone, re-shoot, re-solve |
| No change after deployment | Firmware unsupported / mismatched / never written to Flash | Upgrade firmware, confirm the Flash write, reboot & verify |
| Calibration "lost" after card swap | Coefficients lived in the old card's Flash | Export before the swap, re-deploy after |
| Replacement module sticks out | No coefficients exist for the new module | Restore from backup or locally re-calibrate |
| Ghost images in the data | COB epoxy reflecting the environment | Shift camera angle; kill reflective sources |
07Key Takeaways
| Module | One-line takeaway | Memory hook |
|---|---|---|
| Position | Factory owns unit uniformity; site owns system uniformity | "A relay, not a substitute" |
| Preconditions | Screen, environment, equipment, data | "Four gates" |
| Six steps | Prep → warm-up → setup → black-level → capture → re-shoot | "Warm-up before setup" |
| Target value | Common reachable value; luminance at the floor | "Bucket effect" |
| Storage | Receiving-card Flash, non-volatile | "Card present, coefficients present" |
| COB essentials | Clear dead pixels, kill glare, back up data | "The three-pack" |
Three things worth committing to memory for field practice — the boundaries of the three-tier system (factory owns the unit, site owns the system), workflow order (warm-up before camera setup; black-level before capture), and coefficient storage plus the target-value principle (receiving-card Flash; common reachable value). Memorize the six steps as a chain, then use the troubleshooting table above to understand the "why" behind each one — order and rationale will both stick.
08FAQ
Q1: Does full-screen calibration reduce brightness?
It aligns the wall to its dimmest LED — the bucket effect. The size of the loss depends on initial uniformity: a well-binned wall barely notices. Uniformity is designed in at procurement, not bolted on at calibration.
Q2: How do you calibrate a very large wall?
Zoned capture: plan zone paths, keep references or overlap between zones, then solve the stitched whole. Plan the zoning early — schedule scales with zone count.
Q3: Is the COB process different from SMD?
The capture–solve–deploy pipeline is identical. Two differences: dead-pixel handling (COB swaps modules, not LEDs) and optics (COB's glossy overcoat demands stricter glare control).
Q4: How long should calibration data be kept?
For the life of the wall. Double-archive raw data and coefficients, bound to the wall ID, so module or card swaps become restore operations — not full recalibrations.
We are an export manufacturer of COB LED display walls for control rooms, broadcast and virtual production, and premium meeting spaces: per-cabinet factory calibration, luminance and chromaticity consistency reports shipped with every wall, and full documentation supporting camera-based full-screen calibration on site. Talk directly to our engineering team and vet your next project from a calibration perspective.
Get the COB Display Spec SheetThis article is an original rewrite based on the knowledge framework of Chapter 2, "Full-Screen Calibration," of LED Display Calibration Technology (Nova StarCloud). It is intended for industry education and does not represent the official textbook text; all rights to Nova StarCloud and the textbook belong to their respective owners. Series Part 1: "COB LED Display Calibration Basics: Luminance, Chromaticity and Gamma."