LED Interactive Touch Screen: What Nobody Tells You Before You Buy
Three months after handover, the touch panel in a boardroom started drifting. A finger lands on the left edge of a spreadsheet; the cursor jumps to the right. The screen was fine. The problem was a decision made at the quotation stage: how the touch layer is actually bonded to the LED surface.
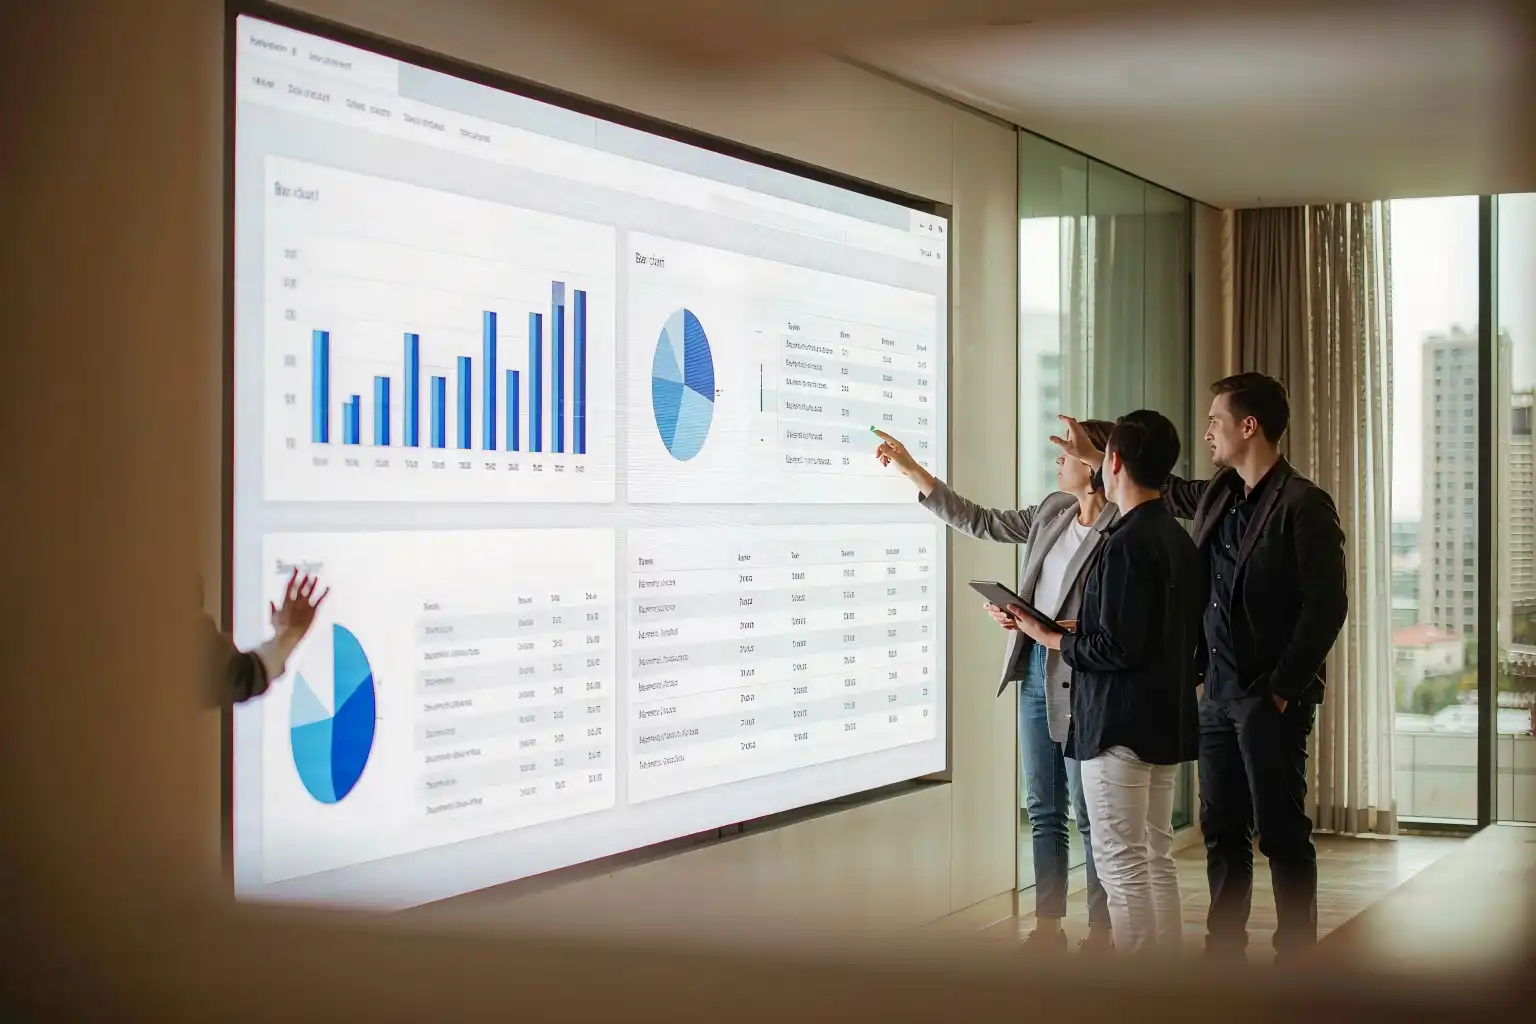
Buyers tend to treat LED walls and touch screens as two separate categories. Need a big picture? Buy LED. Need to touch something? Buy an LCD all-in-one. That logic holds until the required image exceeds roughly 110 inches, where the choice collapses: LCD panels cannot go bigger, and a plain LED wall is display-only.
An LED interactive touch screen exists to fill exactly that gap. It uses tiled LED modules so there is effectively no size ceiling, then adds a touch layer on top so the whole surface becomes a writable whiteboard or a draggable dashboard. This guide skips the spec-sheet recital and answers four practical questions: what it actually solves, how the touch layer is implemented, how to specify one without regrets, and where an interactive LED display wall project tends to go wrong between purchase order and sign-off.
Start with the use case, not the datasheet
Touch capability is not a selling point on its own. What it removes from someone's day is. Three deployment types drive most of the enquiries we see.
1. Boardrooms and collaborative work
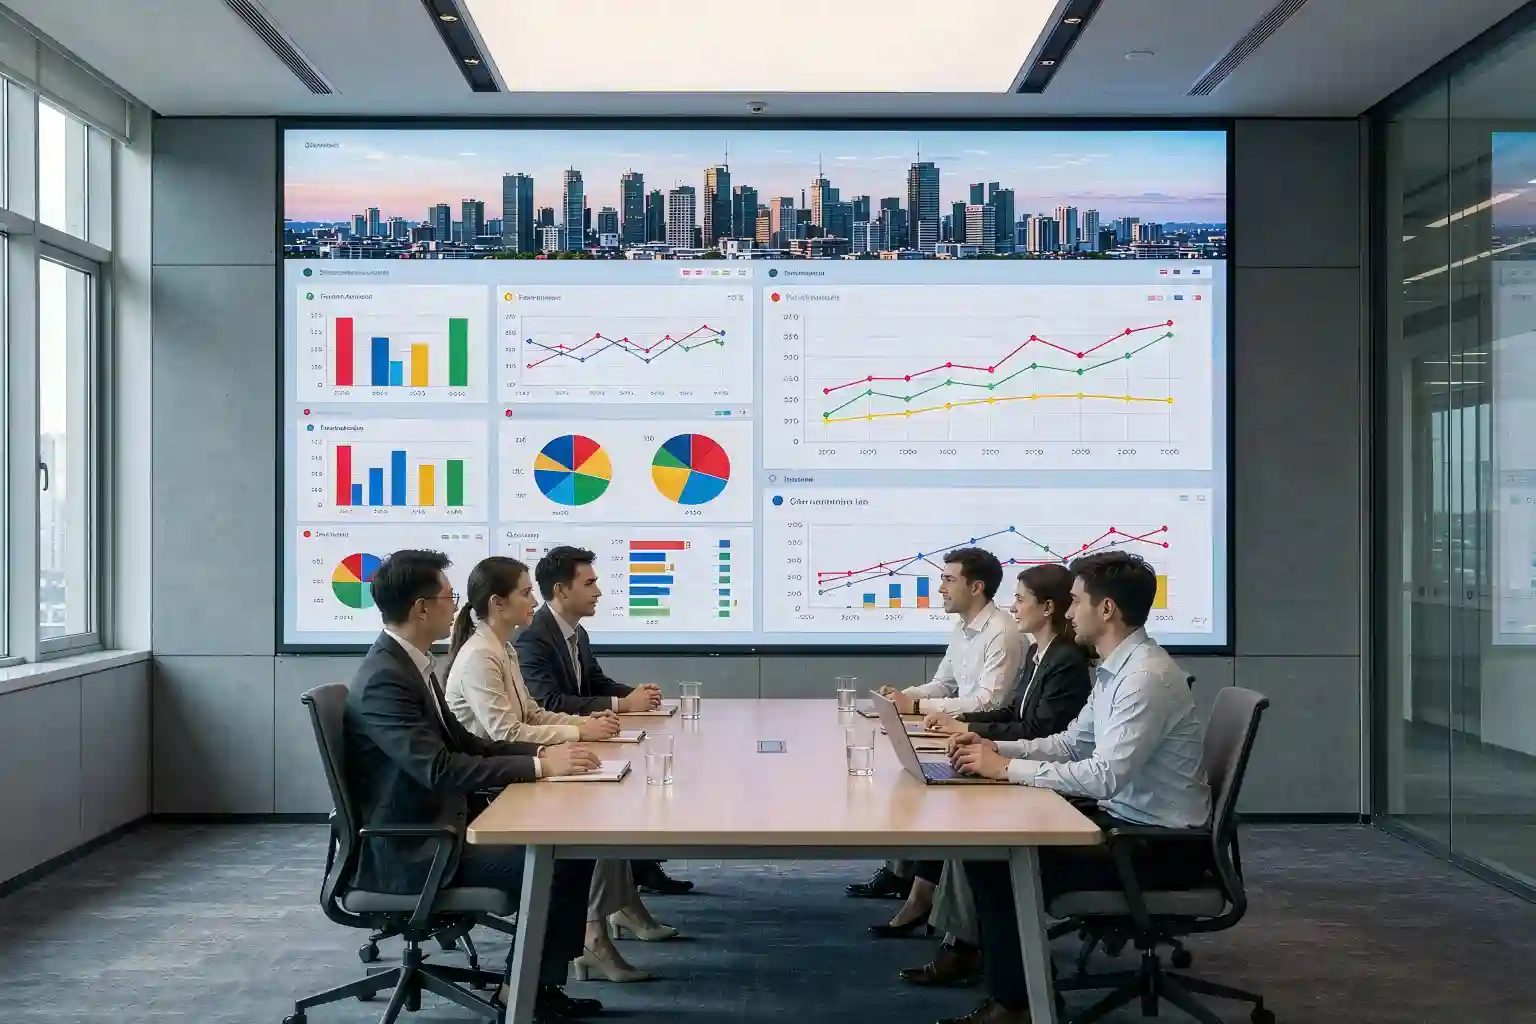
Replacing a projector plus a whiteboard. Participants annotate a deck or zoom into a drawing directly on the wall, then export the session. The real requirement is writing that keeps up with the hand — past roughly 40ms of latency, people feel the ink lag behind the pen.
2. Showrooms and brand walls
Visitors swipe through a product calendar, open case-study videos, join an interactive quiz. The real requirement is durability and smudge resistance: after a hundred touches a day, fingerprints, sweat and light scratches must not leave the surface looking tired.
3. Control rooms and data walls
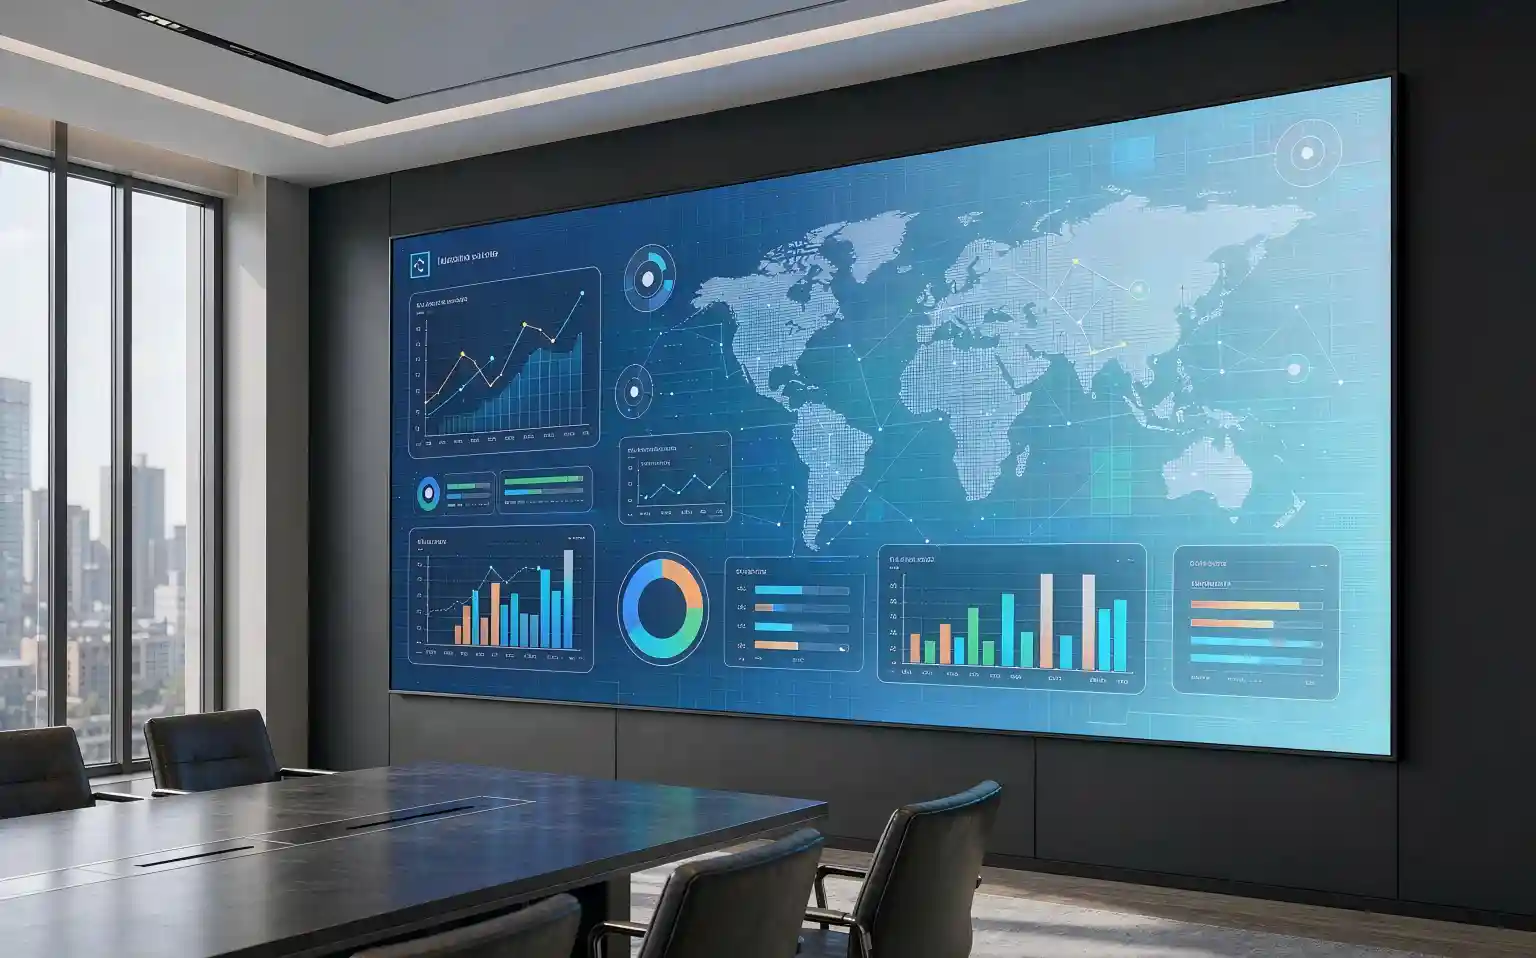
Operators select an alarm, drag a data source, pull up a camera feed across screens. The real requirement is multi-touch depth and system compatibility: 10 or more simultaneous touch points, with touch data handed cleanly to the visualisation software running on top.
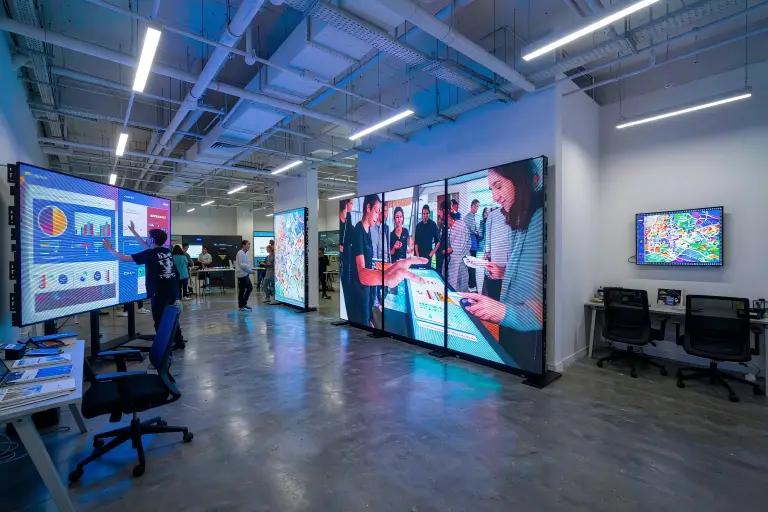
Here is the part that catches people out: those three scenarios make contradictory demands. Smooth writing favours a softer surface; durability wants a hard coating; and a thick enough hard coating dulls touch sensitivity. Specification work is therefore about finding the balance point, not maxing out every row of the spec sheet.
How does a display-only LED wall become touch-enabled?
This is the section worth slowing down for. Once you understand how the touch layer is applied, the reason two visually identical walls can differ by 2x in price becomes obvious.
Physically, an LED display is a matrix of LED lamps. It emits light and nothing else — it has no native touch capability. To turn it into a touch LED display screen, an independent sensing system has to be mounted above the light-emitting surface. There are three mainstream approaches.
Option 1 — Infrared: the value choice for large formats
Infrared emitters and receivers sit inside the frame, forming an invisible grid of beams across the surface. A finger interrupting a crossing point defines the coordinate.
- Strengths: practically unlimited size, lowest cost, no bonding to the surface, hard to scratch
- Trade-offs: visibly thick frame (typically 20–30mm), less reliable with very slim fingers or thin gloves, sensitive to direct strong light
- Best for: showrooms, large meeting walls, budget-sensitive indoor LED touch display projects
Option 2 — Capacitive: the best writing feel
A transparent conductive film — usually ITO or a metal mesh — is laminated to the LED surface. A finger changes the local capacitance and the controller resolves the position. It is the same principle your phone uses.
- Strengths: lowest latency, the most natural pen-on-paper feel, hover preview, very slim bezels
- Trade-offs: cost climbs steeply with size because large-format ITO yield is poor; the film needs tempered glass or a hard coat for protection
- Best for: collaborative meeting rooms and premium interactive projects where size is moderate and budget allows
Option 3 — Optical / camera-based: the compromise for very large walls
Cameras and infrared light sources sit in the corners, and computer vision resolves finger positions. Common on tiled interactive LED display wall builds above roughly 200 inches.
- Strengths: cost scales gently at very large sizes, handles irregular and curved tiling
- Trade-offs: occlusion (a body blocking the light path loses touch points), sensitivity to ambient light, on-site calibration is mandatory
- Best for: exhibition feature walls, irregular creative builds, education screens
Comparing the three touch technologies
| Factor | Infrared | Capacitive | Optical / camera |
|---|---|---|---|
| Writing latency | Moderate (20–40ms) | Lowest (<15ms) | Higher (40ms+) |
| Maximum size | Effectively unlimited | Best under 150" | Unlimited, ideal for huge tiling |
| Relative cost | Low | High | Medium |
| Bezel thickness | Thicker | Very slim | Moderate |
| Strong ambient light | Sensitive | Unaffected | Sensitive |
| Typical deployment | Showroom, classroom | Boardroom, premium showroom | Feature wall, curved builds |
The short version: an LED wall cannot touch anything by itself. The interactive capability you pay for lives in a separate sensing system stacked on top of the lamps — and which sensing system you pick drives the price, the bezel width and the writing feel.
Five more decisions beyond the touch technology
With the sensing method settled, five specifications decide whether the project ships cleanly. They are ordered by consequence, not by the order they appear on a datasheet.
Pixel pitch — start from the viewing distance
Pixel pitch is the centre-to-centre distance between neighbouring LED lamps, in millimetres. Smaller numbers mean a finer image and a higher price. A useful rule of thumb: closest comfortable viewing distance (metres) ≈ pixel pitch (mm) × 1 to 1.5. If the nearest seat in a boardroom is 2 metres away, P1.5–P2 is plenty. In a showroom where people stand 3 metres back, P2.5–P3 is entirely usable.
Common mistake: jumping to P0.9 "for a premium look" and doubling the cost for a difference the eye cannot resolve at that distance.
Size and viewing angle
As a starting point, screen width should be at least half the room width. Then check the horizontal angle from the outermost seat — LED walls typically offer up to 160° horizontal viewing, but brightness falls off with angle, so corner seats deserve an on-site check.
Brightness and, more importantly, surface finish
Indoor LED brightness typically falls between 600 and 1200 cd/m². But for a touch screen the decisive question is matte versus glossy. Glossy raises contrast and suits dark showrooms; matte suppresses reflection and hides fingerprints, which suits well-lit meeting rooms. A display-only wall can go glossy — a wall people touch should usually be matte.
Multi-touch depth and downstream compatibility
Ten touch points is enough for a boardroom; collaborative showrooms should plan for 20 or more. More important is how the touch signal reaches the host. HID plug-and-play is the norm, but if custom visualisation software runs on top, confirm it accepts a standard touch protocol — otherwise you end up with a wall that draws beautifully but ignores every command.
Single panel or tiled modules
An indoor LED touch display under about 3 metres wide can be built as one seamless panel. Beyond that you tile modules, and the critical question becomes how the touch layer maintains continuity across seams. Weak implementations produce touch dead zones or coordinate jumps at the seam — the single most commonly missed item at acceptance testing.
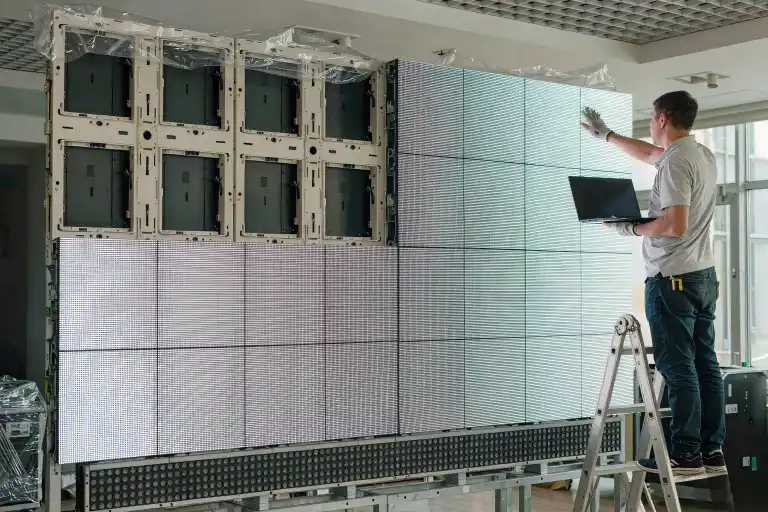
Interactive LED display wall installation: six stages
The stages below are the ones most often compressed when a schedule tightens. Plenty of walls look "installed" and only reveal a touch problem three weeks later, because calibration was skipped.
Site survey and load check
Confirm the wall can carry the load (30–45 kg/m² including steel structure), verify power capacity and service access. Freestanding frames need a floor flatness check as well.
Steel structure and cabinet mounting
Level the steel frame first, then mount cabinets. Keep horizontal deviation within roughly ±1mm — any error here becomes a visible seam later.
Module assembly and flatness tuning
Fit modules one by one, checking flatness at each junction. This is the most labour-intensive stage and the one that determines whether the finished wall shows a visible grid.
Touch layer application
Capacitive builds laminate the conductive film and route edge cabling; infrared builds fit the frame and beam tubes. Temperature and humidity must be controlled — trapped air bubbles or lifted edges cause dead spots.
Touch calibration and image correction
Run the calibration routine to map coordinates point by point, then correct brightness and colour uniformity. On large walls, use point-by-point calibration to avoid a red cast on one side and a blue cast on the other.
Integrated testing and sign-off
Exercise the wall with the software people will actually use, not just the vendor's test pattern. Record each item as you go — the checklist is below.
What an LED touch screen price actually consists of
The most common enquiry is "how much per square metre". That number carries almost no information, because a fine pitch LED touch screen price stacks three cost blocks — and two of them do not scale with area.
| Cost block | Indicative share | Notes |
|---|---|---|
| LED panel and modules | roughly 45%–55% | Rises sharply as pitch shrinks; comparatively linear in size |
| Touch system | roughly 20%–35% | Highest share for capacitive; infrared scales more gently with size |
| Structure, install, commissioning | roughly 15%–25% | Steelwork, freight, on-site calibration and labour; varies widely by distance |
| Control and software | roughly 5%–15% | Depends entirely on whether custom visualisation is required |
So the right question is: at this pixel pitch, this touch technology and these site conditions, what is the delivered price for the complete system? A quote covering only the panels will usually be recovered later in steelwork or commissioning. Insist that warranty length, spare-parts ratio (3%–5% spare modules is a common baseline) and response time appear in the contract — when something fails, those three terms matter far more than the unit price.
There are also two legitimate ways to lower total cost. First, make only the interaction zone touch-enabled — a 6-metre wall may only need the central 3 metres to respond to fingers. Second, tile rather than build a single panel. Both follow the same principle: never pay for surface area that nobody will touch.
Pre-order checklist
Confirm before you raise the PO
- Pixel pitch matches closest viewing distance (pitch × 1.5 ≥ closest distance)
- Touch technology (infrared / capacitive / optical) matches the primary use case
- Surface finish — matte or glossy — matches the room's lighting
- Touch point count and downstream operating system agreed in writing
- How the touch layer crosses seams, with reference projects available
- Quote basis: is it a delivered price including structure, install and calibration?
- Warranty term, spare-parts ratio and fault response time written into the contract
Test on site at acceptance
- Touch accuracy at four corners and centre — test each point, not just the middle
- Slow drag across a seam: any coordinate jump or dropout
- Writing latency — try fast cursive strokes and watch for visible lag
- Simultaneous input: place ten fingers down at once and check for dropped points
- Surface reflection at different angles and lighting conditions
- Touch stability after a continuous 24-hour run
Frequently asked questions
Q1: Should I choose an LED interactive touch screen or an LCD touch all-in-one?
Size and budget decide it. Below 110 inches, where value and out-of-box convenience matter most, an LCD all-in-one is simpler. Above 150 inches, or where a seamless or irregular wall is required, LED is the only option. They are not substitutes — plenty of projects run LCD in meeting rooms and LED in showrooms.
Q2: What latency should I expect from a touch LED display screen?
Typical industry ranges: under 15ms for capacitive, 20–40ms for infrared, and above 40ms for optical. Human writing perception starts to notice lag at around 40ms, so projects where writing is the primary task should favour capacitive sensing.
Q3: Can an indoor LED touch display handle constant finger contact without wearing out?
Under normal use, yes. It comes down to the surface treatment: tempered glass or a hard coat withstands frequent daily touch, and fingerprints or sweat wipe off with a microfibre cloth. What to avoid is dragging sharp objects such as keys or a pen tip across it, or repeatedly wiping the coating with alcohol or abrasive cleaners.
Q4: Will touch still work reliably at the seams between modules?
That depends on how the touch layer is coordinated with the tiling. Infrared builds need continuous beam paths through the frame; capacitive builds need the conductive film to route smoothly across seams. At acceptance, always run a slow drag directly over a seam and watch for the cursor jumping — it is the action most likely to expose the problem.
Q5: How much does an interactive LED display wall cost?
There is no single unit price. At the same size, a delivered system can vary by two to three times between a conventional infrared P2.5 build and a capacitive P1.2 build. The practical approach is to fix the use case and pixel pitch first, then ask two or three LED interactive touch screen manufacturers for quotes on identical terms rather than comparing panel prices.
Want a specification recommendation for your site?
Send us your room dimensions, closest viewing distance, primary use case and budget range. We will reply with a proposal covering pixel pitch, a touch technology comparison and how the delivered cost breaks down.
Request a specification and quote →This article is original technical commentary. Latency, brightness and cost-share figures are typical industry ranges intended to support decision-making; always verify against the project specification and on-site measurements. Images are illustrative — actual product appearance depends on the delivered configuration.