LED Display Control System Basics: Firmware Upgrade, Stored Picture & Front Panel Operations
You can light up, fine-tune and even rescue a COB LED display without a laptop on site — if you truly master firmware management and the controller's front panel. This guide rebuilds the essentials from an industry certification curriculum into practical field knowledge.
- A midnight rescue call: why these basics matter
- Firmware upgrade & version check: a health check for your control system
- Stored picture: the last line of defense against blackouts
- Five front panel functions: input settings, quick screen setup, image control, brightness, system settings
- Key takeaways
- Engineer FAQ
A Midnight Rescue Call: Why These Basics Matter
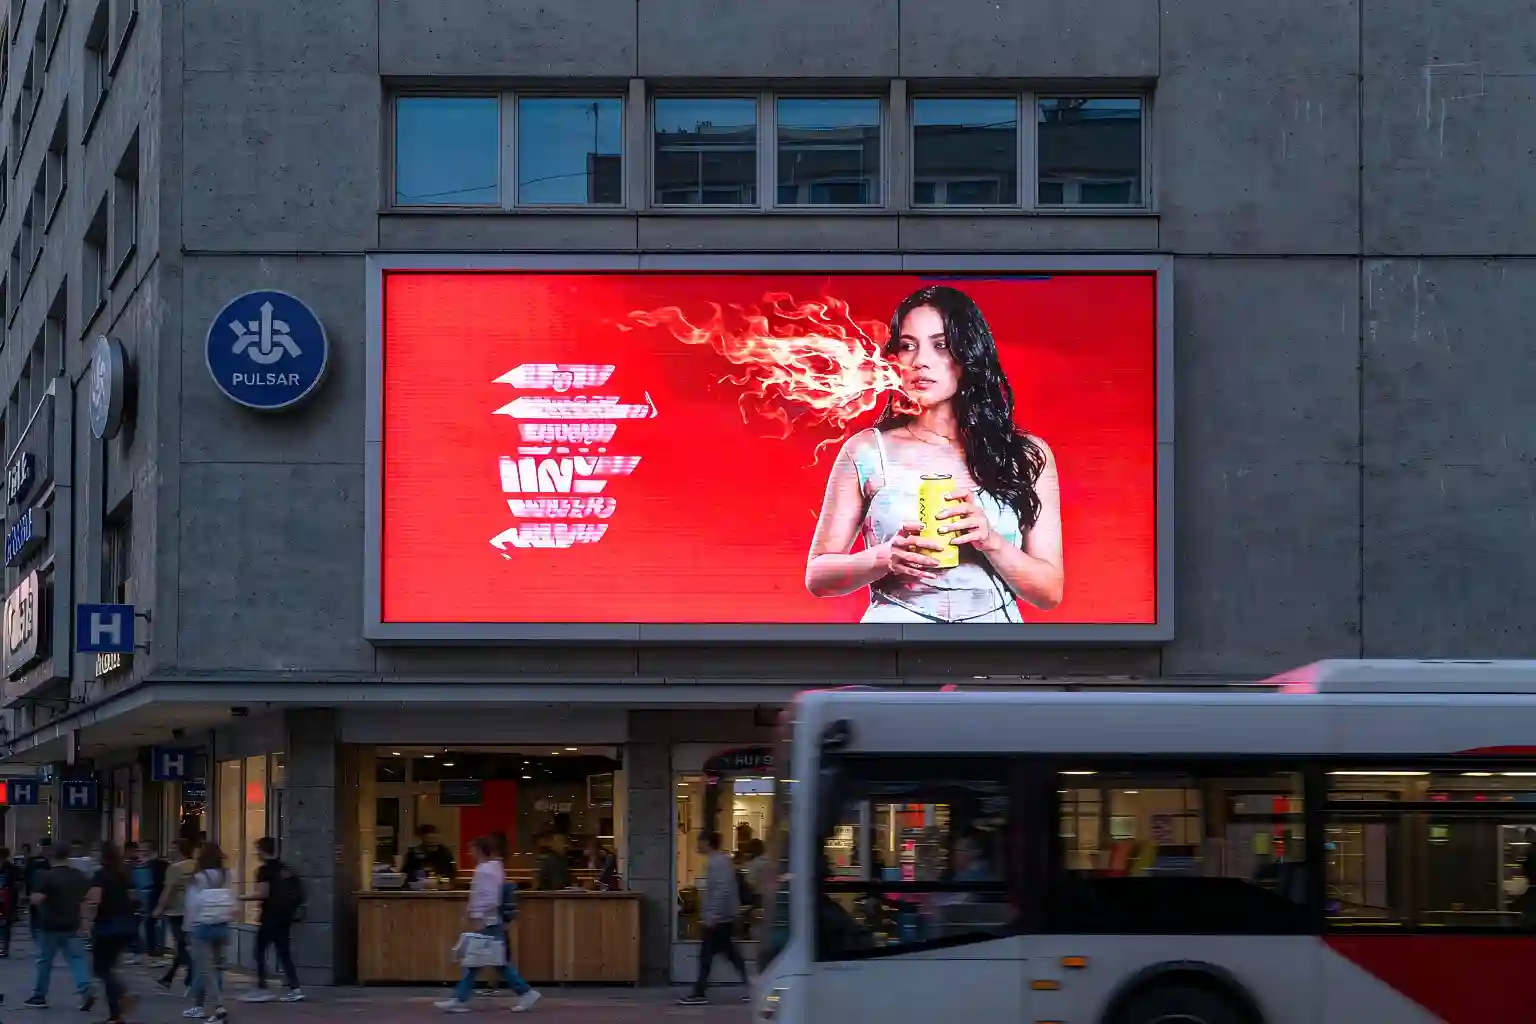
10 p.m. A control room calls: half of the main video wall just went dark, and a VIP demo starts in thirty minutes. You arrive on site — no laptop, and the client has just swapped the HDMI player for a different media box. The resolution no longer matches, and the picture is scrambled across the wall.
What saves the night isn't advanced technology. It's three fundamentals: a quick firmware version check to rule out receiving-card issues; an input switch and quick screen setup done entirely from the controller's front panel; and a stored picture configured on the spot so the screen never goes black again if the signal drops. Twenty minutes, done.
Many engineers invest heavily in the advanced topics of fine-pitch COB — calibration, color gamut, uniformity — yet trip over the most basic control-system operations. This chapter of the industry certification curriculum (NovaStar NCE, "LED Display Application – Level 1", Chapter 5) covers exactly those fundamentals. Here it is, rewritten in field language.
Firmware Upgrade & Version Check: A Health Check for Your Control System
More than one component in an LED control system runs its own program: the sending device (controller / sending card) and every receiving card each carry an independent firmware version. Checking versions and upgrading firmware is the system's health check and patch cycle — firmware updates fix bugs, unlock features and keep compatibility with new hardware batches, which matters even more on high-density COB LED display projects.
Version check: know what you're running before you touch anything
Connect the device in the control software (NovaLCT, for example), open the device/firmware information page, and read the program version of the sending device and the receiving cards. On any troubleshooting visit, reading versions is step one: if the firmware doesn't match the configuration package from the manufacturer, everything you do afterwards is wasted effort.
Firmware upgrade: four steps, no shortcuts
- Connect & read backConnect via USB or Ethernet, read back the current firmware and configuration, and keep a backup.
- Select the firmware packageLoad the firmware file that exactly matches your hardware model and card type.
- Push the updateSelect the target devices (single card or all receiving cards), send, and watch the progress. No power cuts, no cable pulls.
- VerifyRead the version back, confirm it matches the package, then power the screen up for a display test.
Stored Picture: The Last Line of Defense Against Blackouts
Live stages, command centers, transport hubs — every COB LED display in these venues shares one hard rule: the screen must never go black. Yet kicked-loose HDMI cables and frozen media players will always happen. The stored picture feature exists for exactly that moment.
The principle is simple: an image — a brand logo, a poster, or the last healthy frame — is written into the receiving card's storage in advance. When the input signal fails, the receiving card automatically switches its output to the stored picture. The audience sees a static image, not a black wall. When the signal returns, the screen switches back on its own.
In the control software, the typical path is: Screen Configuration → Stored Picture → capture the current frame or import an image → send to the receiving card and save. After setup, always pull the signal cable once and watch it work — trust, but verify.
Five Front Panel Functions: Commission the Screen Without a Laptop
The front panel of a video controller — buttons, knob and LCD — is not decoration. Once you know it well, most on-site tasks (switching sources, re-mapping the screen, adjusting brightness) can be done right there. It is also the quiet dividing line between a junior and a veteran. Here are the five function groups, in menu order.
1. Input Settings
The most-used front panel entry: select the active source channel (HDMI / DVI / SDI, etc.) and confirm the input resolution and refresh rate. When a new media player leaves the screen dark or misaligned, check the EDID and resolution here first — it beats rebooting ten times.
2. Quick Screen Setup (Quick Screen Configuration)
The lifesaver when no PC is available. From the front panel, enter the cabinet rows, columns, pixels loaded per receiving card, and cabling pattern; the controller calculates and pushes the mapping automatically. For standardized cabinets — especially a fine-pitch COB LED display wall — the whole screen can be lit in minutes. Note: quick setup suits regular rectangular walls only; irregular shapes still require mapping in PC software.
3. Image / Output Control
This group shapes how the picture sits on the screen: scaling, horizontal/vertical position, cropping — and the most practical tool of all, test patterns. Test patterns need no signal source at all: the controller outputs solid colors, gradients and grids by itself. Chasing dead pixels, color blocks or a suspicious receiving card? Fire a test pattern first and you instantly know whether the fault is upstream in the signal chain or in the screen itself.
4. Brightness Adjustment
Two modes are supported: manual and automatic. Manual sets a fixed value (typically 0–255 or a percentage); automatic requires an external light sensor and lets the controller follow ambient light in real time. For indoor fixed-install COB LED display projects, a practical baseline is 60–70% by day and 30–40% at night — easier on the eyes, lower power draw, and noticeably longer LED lifetime.
5. System Settings
The device's own management entry: device information (model, firmware version), language and network settings, button lock, and — use with care — factory reset. Before handing a project over, do one final device-info check on the front panel and cross-verify it against your firmware readback. It takes a minute and becomes part of your delivery record.
Key Takeaways
| Function | Core Operation | Watch Out For | Typical Scenario |
|---|---|---|---|
| Firmware version check | Read back program versions of sending device & receiving cards | Always step one of troubleshooting | Fault diagnosis, project acceptance |
| Firmware upgrade | Connect → back up → match package → push → verify | Never cut power mid-upgrade; work in batches | Bug fixes, new hardware compatibility |
| Stored picture | Write an image to the receiving card; auto-switch on signal loss | Test by actually pulling the signal cable | Stages & control rooms, blackout prevention |
| Input settings | Select source, confirm resolution on the front panel | Check EDID after swapping playback devices | Source switching, fixing misaligned picture |
| Quick screen setup | Enter cabinet rows/columns, load, cabling pattern | Regular rectangular walls only | Lighting up a wall without a laptop |
| Image control | Scaling, position, test patterns | Test patterns need no signal source | Locating dead pixels & fault sections |
| Brightness | Manual value or sensor-driven auto mode | Indoor baseline: 60–70% day / 30–40% night | Eye comfort, energy saving, LED lifetime |
| System settings | Device info, language, network, factory reset | Back up configuration before a reset | Delivery checks, device management |
Engineer FAQ
Looking for a Reliable COB LED Display & Control System Partner?
We supply complete export packages — from fine-pitch COB cabinets to video wall controllers — with full English commissioning documentation and remote technical support.
Request Datasheet & QuoteDisclaimer: This article is an independent rewrite based on the knowledge framework of the NovaStar NCE certification textbook "LED Display Application – Level 1", Chapter 5, combined with the author's field experience. It is not an official manufacturer document. Menu names and operation paths may vary by controller model and software version — always refer to the official manual for your device. NovaStar and related trademarks belong to their respective owners.